 Tweet
Tweet
Weber lid that is. 
Usually when you hear the term "dual quads" something like this comes to mind.
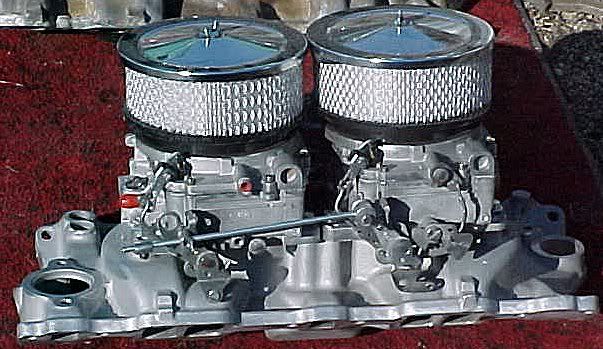
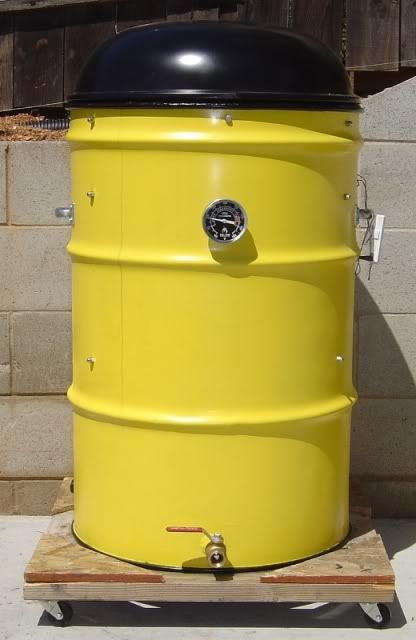
But in this case, it's something for the UDS.
Having wondered for awhile now if I would have better luck getting higher temps (350�+) for chicken (and tri tips for that matter ) with a little more exhaust, and through discussing the topic in this thread, I decided to finally add another vent to my Weber lid.
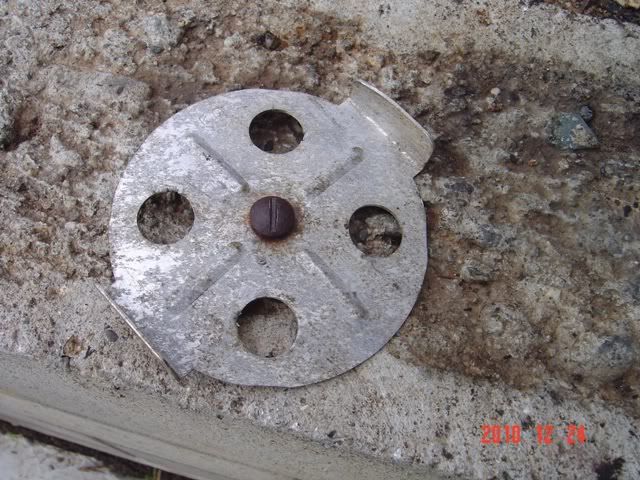
I still had the bottom from the donor kettle that I used to build the UDS. It's not the "One Touch" model so it had the bottom vent covers.
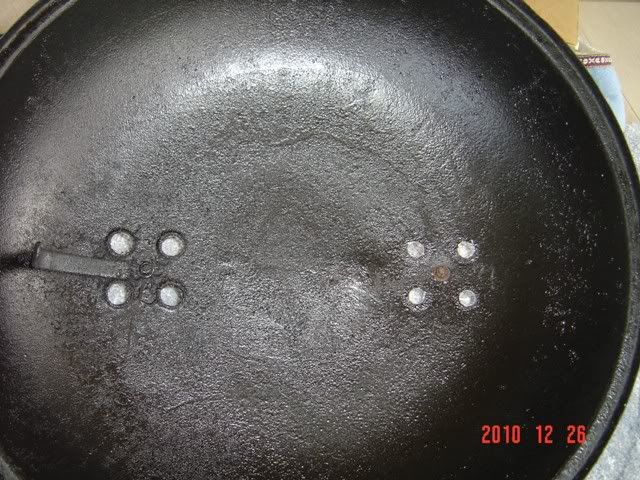
So . . . after some wire brushing and liberal application of WD-40, I was finally able to get one of the bottom vents off.
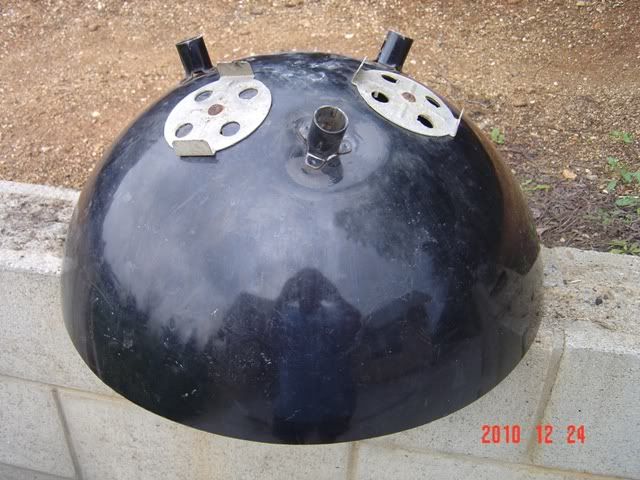
I "eyeballed" about where the second one needed to be, smacked it with a punch and drilled the hole.
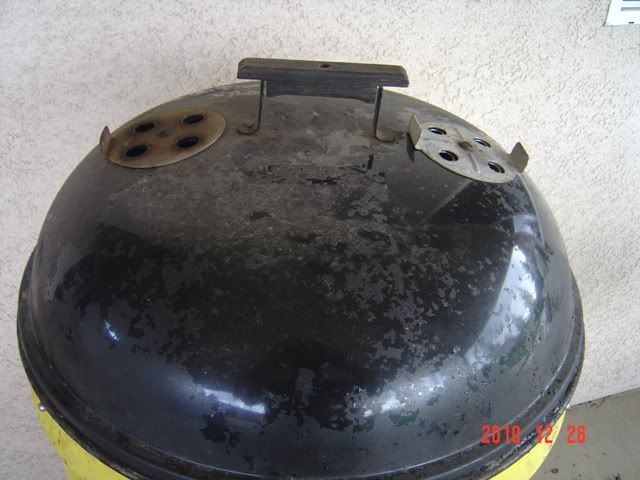
Got the vent all mounted and set about drilling the air holes. After some more "eyeballing" and careful application of various drill bits and finally the step bit, air holes were drilled.

As you can see, they weren't exactly centered but I am sure they will get the job done. I might enlarge them a little bit since the cover will still cover them when rotated 90�.
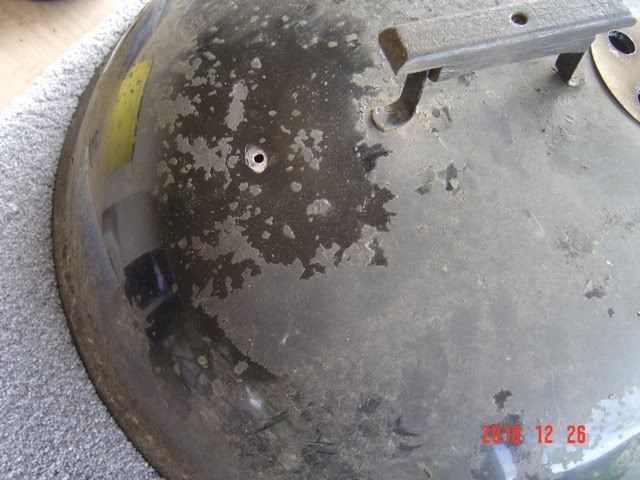
I cleaned up the underside a bit.
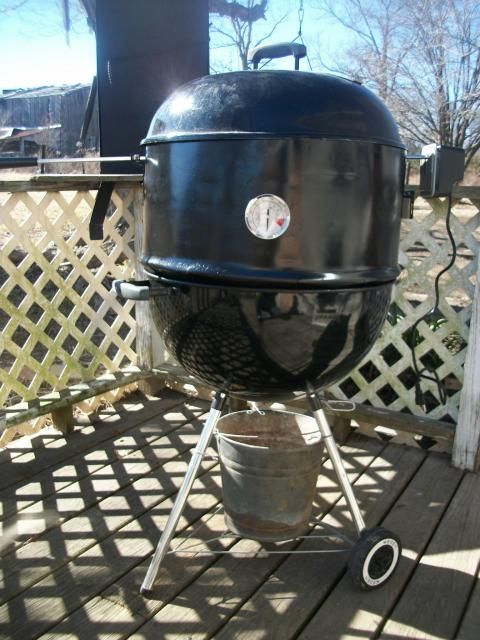
And now it is already for a test burn.
I'm not sure if I will get to that today, but if the weather is decent, maybe I'll do a test burn tomorrow.
Dave
Usually when you hear the term "dual quads" something like this comes to mind.
But in this case, it's something for the UDS.
Having wondered for awhile now if I would have better luck getting higher temps (350�+) for chicken (and tri tips for that matter
) with a little more exhaust, and through discussing the topic in this thread, I decided to finally add another vent to my Weber lid.I still had the bottom from the donor kettle that I used to build the UDS. It's not the "One Touch" model so it had the bottom vent covers.
So . . . after some wire brushing and liberal application of WD-40, I was finally able to get one of the bottom vents off.
I "eyeballed" about where the second one needed to be, smacked it with a punch and drilled the hole.
Got the vent all mounted and set about drilling the air holes. After some more "eyeballing" and careful application of various drill bits and finally the step bit, air holes were drilled.
As you can see, they weren't exactly centered but I am sure they will get the job done. I might enlarge them a little bit since the cover will still cover them when rotated 90�.
I cleaned up the underside a bit.
And now it is already for a test burn.
I'm not sure if I will get to that today, but if the weather is decent, maybe I'll do a test burn tomorrow.
Dave
 " --
" -- 


 .... Not saying there is anything wrong with Weber Black, but might give you some options/ideas

Comment