 Tweet
Tweet
Glace de Viande - Your Secret Weapon for Flavour
If you’re looking for ways to boost the flavour and depth in anything you cook, I can absolutely guarantee results with glace de viande. For the cost of just a few, simple, basic ingredients, and some time invested, you can build yourself a stockpile of rich, meaty goodness that will transform any ordinary dish into something that is so much more, giving your dinner guests something to rave about and making you a hero in the kitchen.
The definition given in Dave's post on glace de viande:
http://foodsoftheworld.activeboards....topic1100.html
Sums it up the situation pretty well:
But reading about this wonderful elixir is simply not enough - it must be experienced! It hardly costs anything, just some meaty bones - available for little or nothing - and a few wonderful, aromatic vegetables. And some time - the mother of all good things - to do it well and right. To make a wonderful basic glace de viande with all of the fundamental, beefy goodness that you will ever want or need, all that is required is this:
5 to 6 pounds of meaty beef bones
1 to 2 onions (depending on the amount of bones)
2 to 3 carrots (depending on the amount of bones)
2 to 3 stalks of celery, with leaves (depending on the amount of bones)
Olive oil, for brushing
There are probably dozens of "optional" ingredients: a pinch or two of salt and a few peppercorns (not too much - keep in mind this is a very heavily-concentrated reduction) - also thyme or parsley; a few garlic cloves, perhaps a bay leaf or two, or some tomato paste, - or better yet, a couple of tomatoes, roasted or not. Perhaps a little wine with the reducing, red or white. Lots of possibilities that I probably haven't even thought of, but I wanted to keep it fundamental; other than the primary ingredients above, the only thing I added was a few garlic cloves, which I roasted along with the vegetables and bones.
I had made improvised versions of this before, but due to time or ingredient restraints, I would take shortcuts rather than prepare it the way it should be done; results were good, but not nearly as rich and full as they could be. Recently, I decided to finally stop everything and follow this through, from beginning to end. Let's take a look.
I thought I had it all figured out, and was ready to begin - I really did! I stopped by a local grocery after work one day, and bought 2 yellow onions as well as some whole carrots and celery. I got the idea in my head to chop up the celery leaves to simmer with the bones and stock after roasting - more on that later.
Speaking of the bones, I went to the meat department and saw that the butcher had, just moments before, finished trimming several nice meaty-and-marrowy leg bones of some kind - in fact, the bones were just coming off the saw and about to be packaged as "pet food," at about half the price compared to the identical "soup bones" that were in the freezer section (and had probably been sitting there for quite a while, since most people just buy cans or cubes of broth these days). Before the butcher could even finish packaging them, I asked for about 5.5 pounds of them, and then proceeded to the check-out line with my fortuitous treasure.
Unfortunately, I had to put my plan on hold for a few days. Evidently, while I was at work the next day, my youngest son thought the bones were for the dog, and gave all the bones to her. When asked about it, his answer was, "But the label said, 'Pet Food!'"
Well, it was pretty hard to argue with that, so I chalked it up as a situation that turned out good for the dog, but bad for me.
So ended my first attempt at "doing it right."
Sometime later, I found myself in the same grocery again, after work again, on a Friday, with money in my pocket. So I picked up a new supply of wonderful, meaty bones - frozen, but only since that morning. Looking at them, I saw that they were actually nicer than the ones I had before, with even more meat for richness and flavour. I decided on the spot to begin my glace project that evening, giving me the weekend for the simmering and reducing that is required.
Here are the goods used:
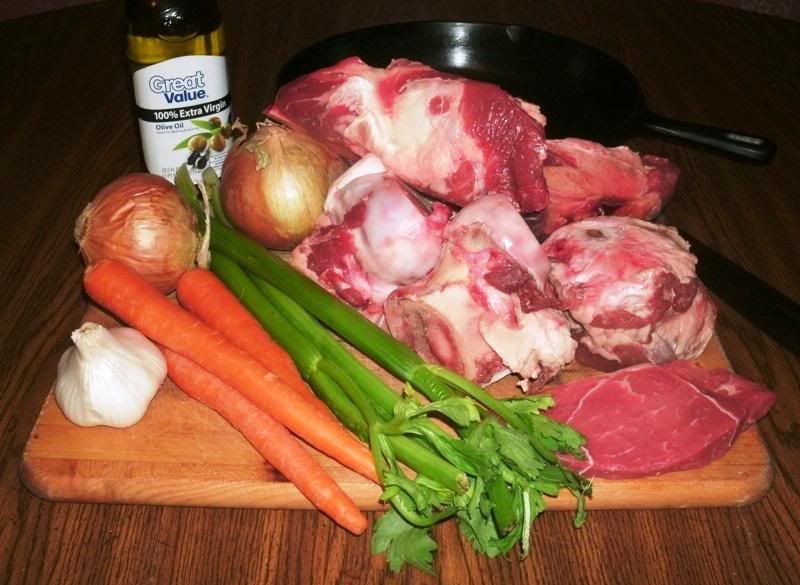
I started with just over 6.5 pounds of meaty bones, plus a strip of sirloin that I found in the refrigerator - it was maybe a third of a pound - cut into cubes.
I pre-heated the oven to 375 and brushed the meat and bones with olive oil. I thought I would be clever and do everything in my large, 13-inch cast-iron pan, but when I got the bones and meat in it:

I quickly saw that the veggies wouldn't fit when the time came to put them in. no worries, I would cross that bridge when I reached it.
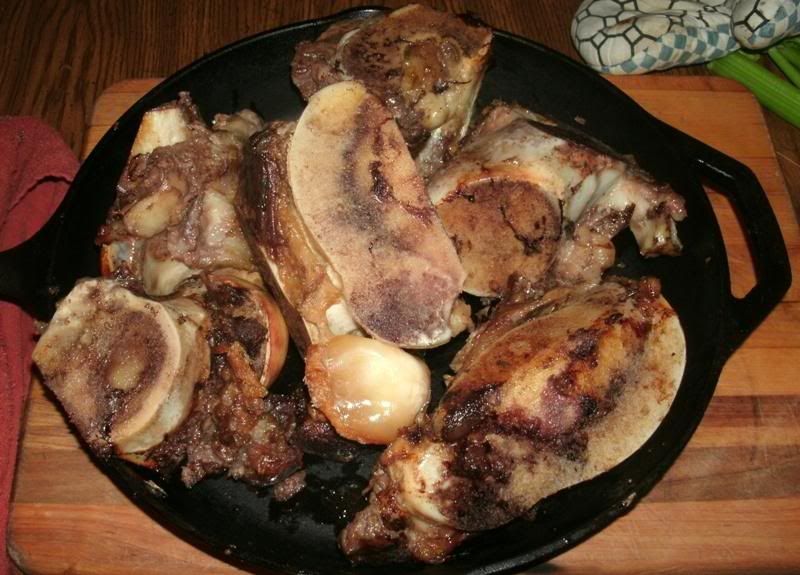
I put the pan into the oven for an hour; during this time, the house took on an incredible, beefy aroma, and I figured out a solution to my dilemma about lack of space in the cast-iron pan. When the hour was up, I transferred the meaty bones to my other large (12-inch) cast-iron pan:
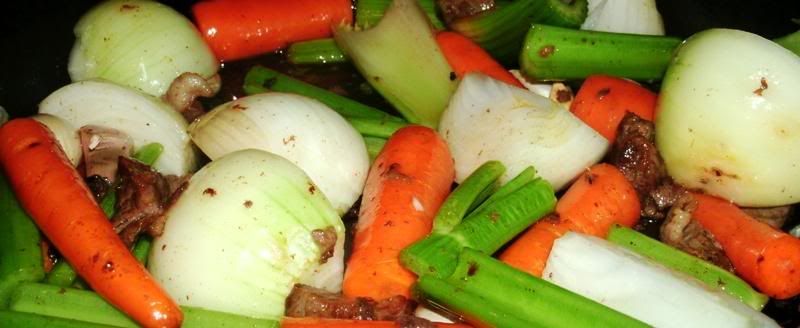
This pan was returned to the oven, reducing the temperature down to 350 degrees, leaving the fat (that had rendered so far), steak pieces and brown bits in the original pan. I then quartered two onions and cut three carrots and three stalks of celery into chunks, reserving the celery leaves for the boiling. I also ripped half a dozen cloves of garlic off a bulb, leaving them un-peeled. I added the carrots, onions, celery and garlic to the original pan, tossing them in the oil and brown bits and mingling them with the steak pieces:
I then placed this pan in the oven alongside the meaty bones.
To sum it up, I had one pan of half-roasted meaty bones and another full of aromatics, half-roasted steak pieces and brown bits (fond) in the oven at 350 degrees. Looking back, I probably could have just used a single roasting pan for the whole thing, but I figured that the properties of the cast iron would work well for this project; in the end, I do believe that this was a good decision.
I roasted everything for an hour (this makes 2 hours for the bones), and then took a look:
There are a lot of adjectives to describe that scene, and all of them are synonyms of the word "wonderful," especially considering the aroma that was filling the entire house.
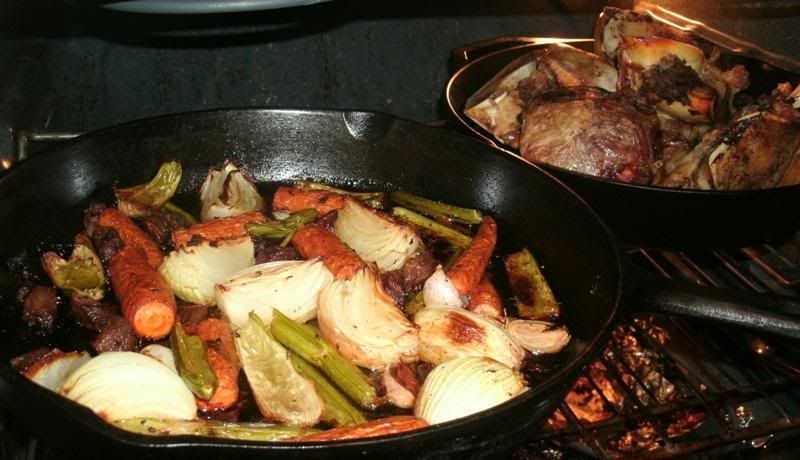
I roasted the vegetables and bones for a good while longer, right around another hour; this makes about two hours total for the veggies, three for the bones. Keep in mind I reduced the temperature after the bones had roasted for an hour, so your time may vary; What you're looking for is some good, deep browing of the ingredients. At the times and temperatures I used, the bones:
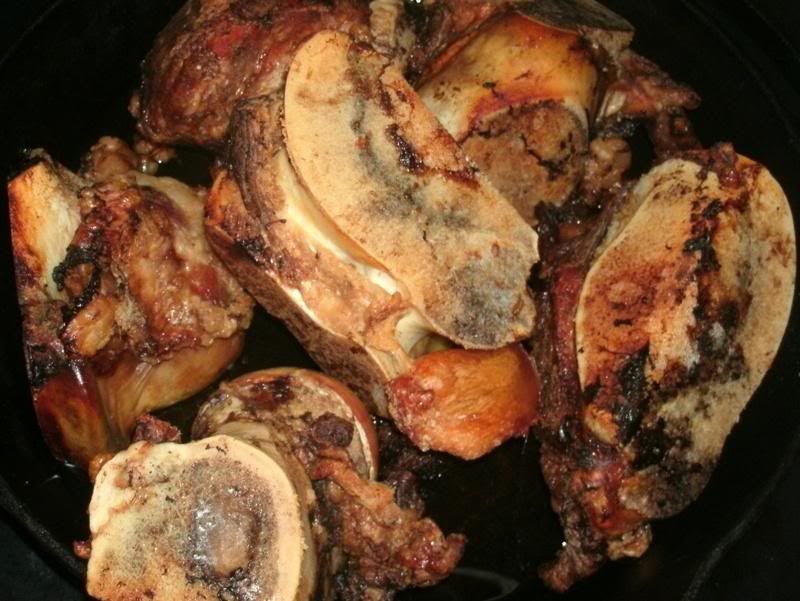
As well as the beef scraps and veggies:
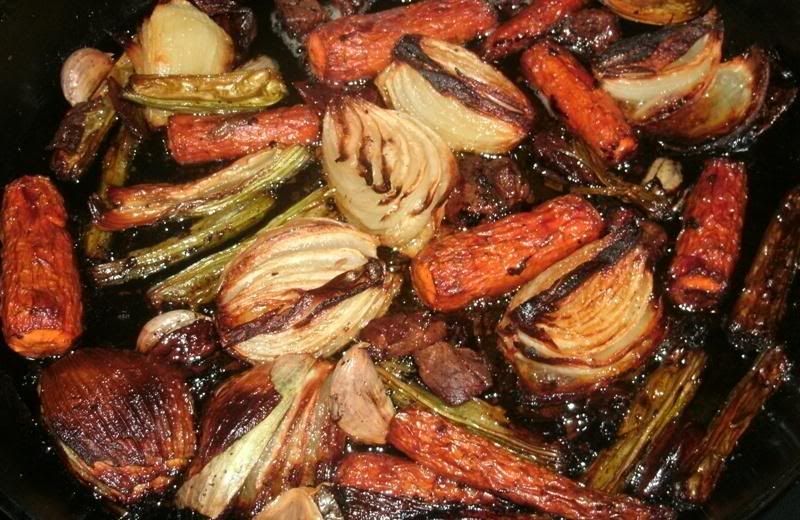
Had all taken on a wonderful, rich browned colour; I believe this is a textbook example of the Maillard reaction, which is evidently the heart of the concept behind this "meat glaze."
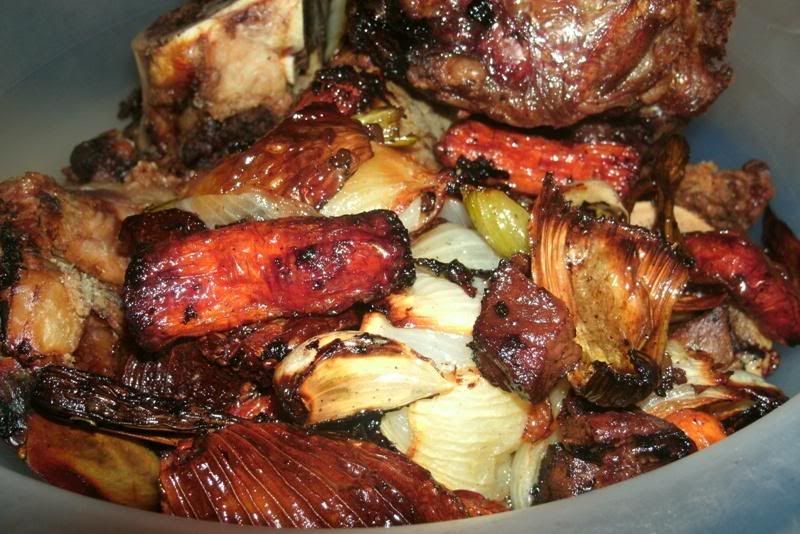
I removed the bones, meat, vegetables and scrapings to a large bowl:
And then poured the juices and fats from both pans into another, smaller bowl:
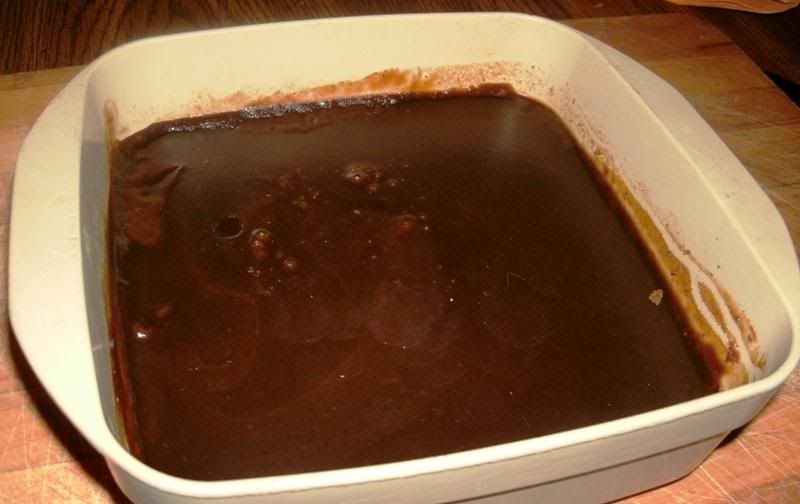
I then de-glazed both of the oven-hot pans with a little water (deciding not to use any wine) and added the resulting liquids to the bowl with the juices and fats. As advertised by Dave in his post, the liquids were a beautiful, hearty espresso-brown.
A lot of rendered fat from the bones rose to the top:
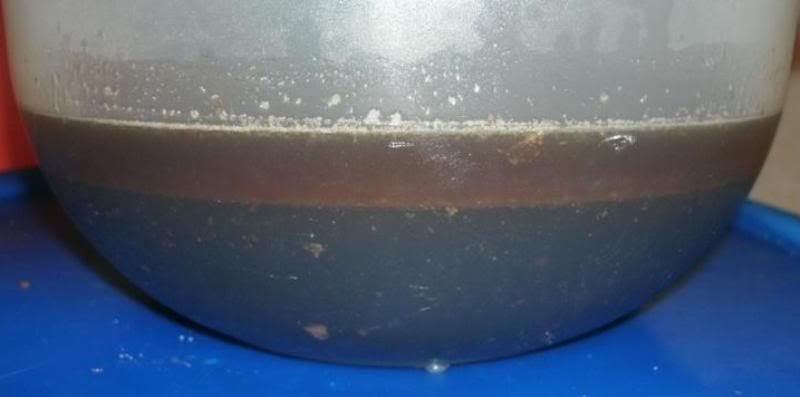
But no worries – time and a little magic would take care of that!
I left both bowls out so the meat, bones and vegetables could cool down naturally for about an hour; then, since the hour was quite late, I covered both bowls, placed them in the refrigerator and then turned in for the evening.
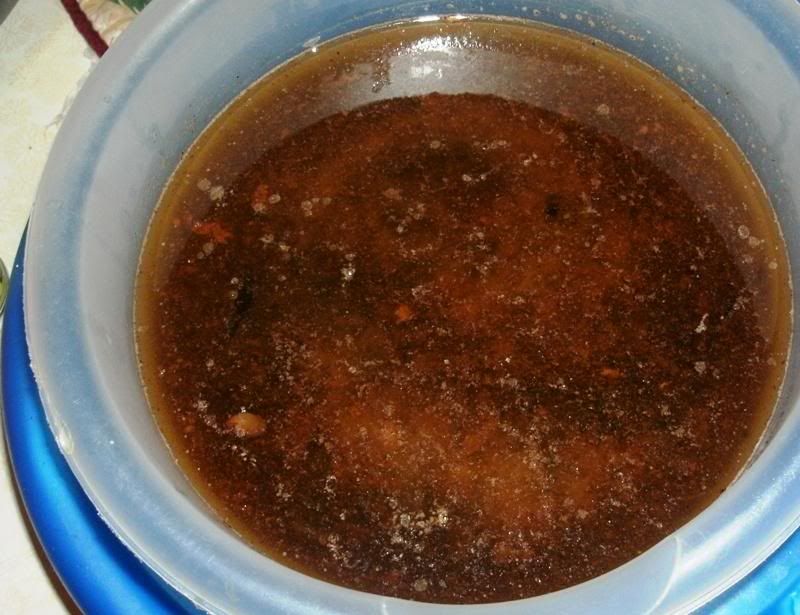
The next morning, I got off to a slightly-late start, about 9:00 AM, but no worries. First, I brought out the large stock pot and put all the solids in it. I then took a look at the "liquids" bowl:
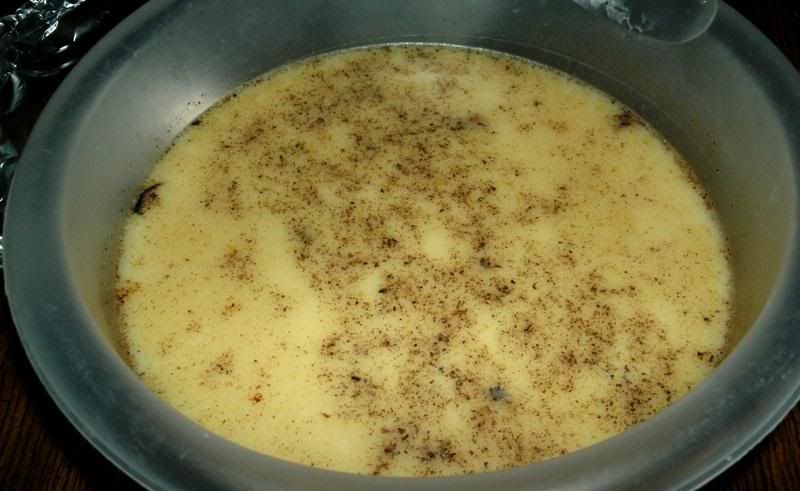
The fat had all risen to the surface and solidified in the refrigerator, creating a pretty thick cap over the liquids:
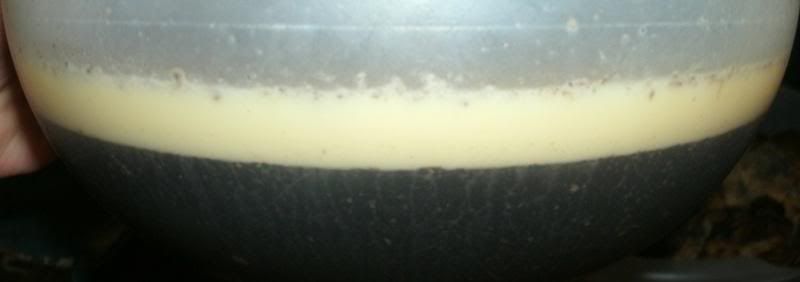
However, being solidified, it was an easy matter to run a knife around it and lift it off with a fork:

I then poured the liquids onto the meat, vegetables and bones in the stock pot:

And then covered everything with a little over 6 quarts of cold water so that the entire project could heat in a uniform matter.
For this preparation, I ultimately chose to add no additional ingredients, except the garlic cloves mentioned before. I had been considering halved, roasted tomatoes, but the ones I was going to use ended up in our supper the night before, so that idea was out. I suppose I could have thrown in a small amount of tomato paste, but decided against it. I also considered adding a teaspoon or two of salt and a few peppercorns, but then took the final reduction into account and decided against that, as well. As Dave said, the beef and veggies will provide the only real seasoning that this wonderful stuff needs on a fundamental level; the rest is just embellishment. I did ultimately decide to chop up the celery leaves:
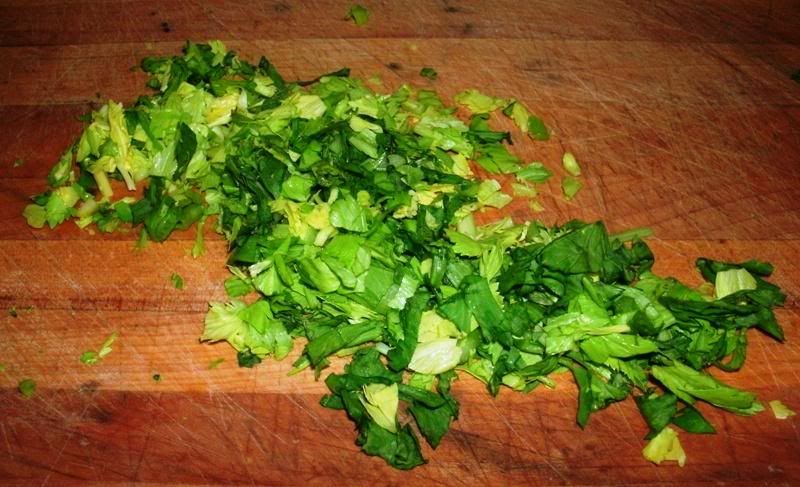
And add them to the stock pot simmering for flavour, but that might have been a questionable decision; I'll show you the results and you can decide.
With that, I began a very long, slow, just-barely-bubbling simmer - uncovered - which was slated to last at least 12 hours. During this time, you want to be skimming the liquid as often as possible with a slotted spoon; it's important to get all foam, scum and other detritus out of the stock pot, so that you are left with a wonderful, pure stock. You want to also keep the liquid level above the bones, adding some hot or boiling water as-needed. It wasn't long before I started to question my decision regarding the celery leaves:
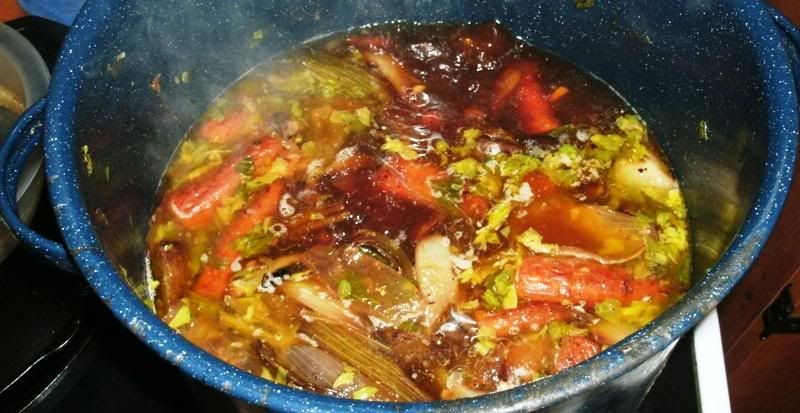
Since they commenced to float around the top of the stock pot, running the risk of getting skimmed out; nevertheless, they did impart some wonderful, savory flavour into the final product, and I would definitely do it again.
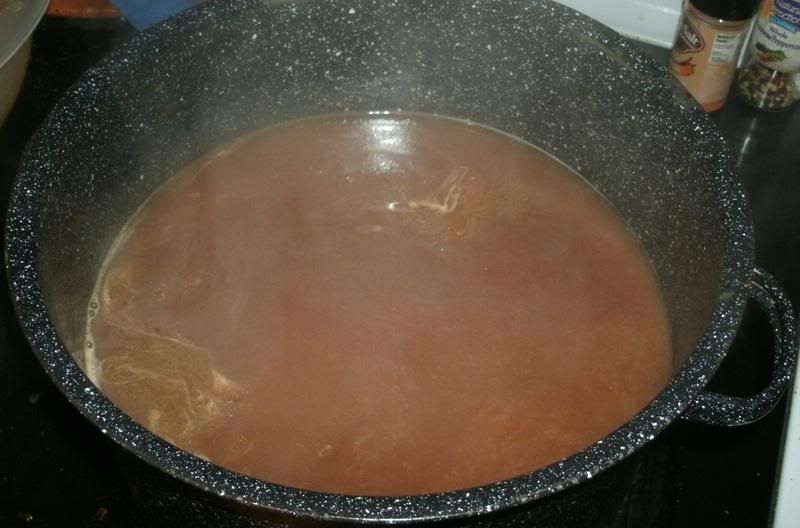
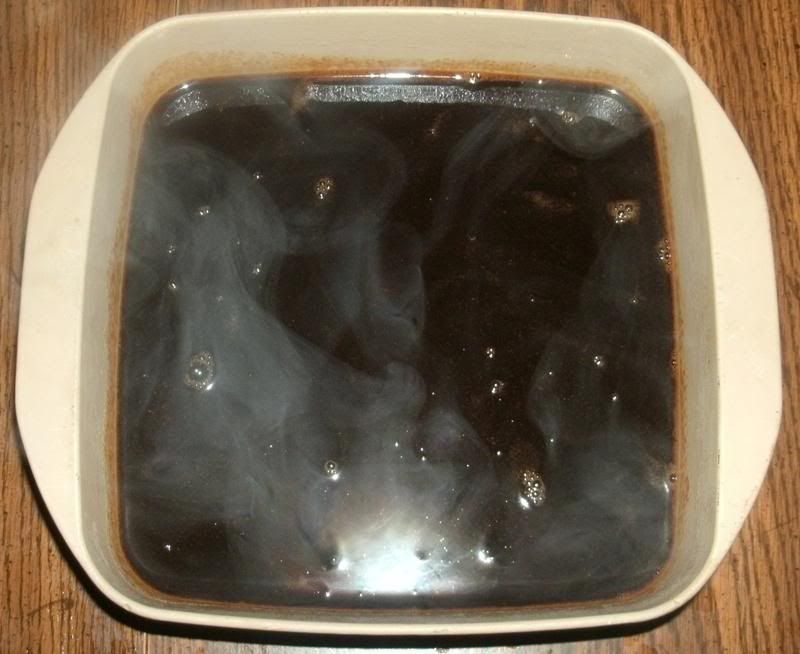
From here, this process should have been pretty straightforward: simmer, skim, strain and reduce. While I was simmering the stock, I skimmed any fat, scum or foam that rose to the surface, but there wasn't very much at all, and the stock remained very clear, just like good, rich, dark coffee. Every now and then, I added a pint or so of boiling water, to keep the level well above the soup bones, and things were bubbling along quite merrily. (continued below)
If you’re looking for ways to boost the flavour and depth in anything you cook, I can absolutely guarantee results with glace de viande. For the cost of just a few, simple, basic ingredients, and some time invested, you can build yourself a stockpile of rich, meaty goodness that will transform any ordinary dish into something that is so much more, giving your dinner guests something to rave about and making you a hero in the kitchen.
The definition given in Dave's post on glace de viande:
http://foodsoftheworld.activeboards....topic1100.html
Sums it up the situation pretty well:
Glace de viande is a flavor-packed super-reduction of aromatics, rendered meat drippings and melted connective tissues (collagen) - the perfect embodiment of rich, caramelized roasted-meaty goodness. To visualize the concept, imagine meat stock reduced to a point where all the moisture is gone, leaving a gelatinous, richly-browned glob of savoriness that can be preserved and added to any dish as a flavor enhancer. Championed by Escoffier, Child and Pepin, glace de viande is most commonly associated with beef, but can be made from any meat - pork, veal, venison; even poultry or fish, if desired.
5 to 6 pounds of meaty beef bones
1 to 2 onions (depending on the amount of bones)
2 to 3 carrots (depending on the amount of bones)
2 to 3 stalks of celery, with leaves (depending on the amount of bones)
Olive oil, for brushing
There are probably dozens of "optional" ingredients: a pinch or two of salt and a few peppercorns (not too much - keep in mind this is a very heavily-concentrated reduction) - also thyme or parsley; a few garlic cloves, perhaps a bay leaf or two, or some tomato paste, - or better yet, a couple of tomatoes, roasted or not. Perhaps a little wine with the reducing, red or white. Lots of possibilities that I probably haven't even thought of, but I wanted to keep it fundamental; other than the primary ingredients above, the only thing I added was a few garlic cloves, which I roasted along with the vegetables and bones.
I had made improvised versions of this before, but due to time or ingredient restraints, I would take shortcuts rather than prepare it the way it should be done; results were good, but not nearly as rich and full as they could be. Recently, I decided to finally stop everything and follow this through, from beginning to end. Let's take a look.
I thought I had it all figured out, and was ready to begin - I really did! I stopped by a local grocery after work one day, and bought 2 yellow onions as well as some whole carrots and celery. I got the idea in my head to chop up the celery leaves to simmer with the bones and stock after roasting - more on that later.
Speaking of the bones, I went to the meat department and saw that the butcher had, just moments before, finished trimming several nice meaty-and-marrowy leg bones of some kind - in fact, the bones were just coming off the saw and about to be packaged as "pet food," at about half the price compared to the identical "soup bones" that were in the freezer section (and had probably been sitting there for quite a while, since most people just buy cans or cubes of broth these days). Before the butcher could even finish packaging them, I asked for about 5.5 pounds of them, and then proceeded to the check-out line with my fortuitous treasure.
Unfortunately, I had to put my plan on hold for a few days. Evidently, while I was at work the next day, my youngest son thought the bones were for the dog, and gave all the bones to her. When asked about it, his answer was, "But the label said, 'Pet Food!'"
Well, it was pretty hard to argue with that, so I chalked it up as a situation that turned out good for the dog, but bad for me.
So ended my first attempt at "doing it right."
Sometime later, I found myself in the same grocery again, after work again, on a Friday, with money in my pocket. So I picked up a new supply of wonderful, meaty bones - frozen, but only since that morning. Looking at them, I saw that they were actually nicer than the ones I had before, with even more meat for richness and flavour. I decided on the spot to begin my glace project that evening, giving me the weekend for the simmering and reducing that is required.
Here are the goods used:
I started with just over 6.5 pounds of meaty bones, plus a strip of sirloin that I found in the refrigerator - it was maybe a third of a pound - cut into cubes.
I pre-heated the oven to 375 and brushed the meat and bones with olive oil. I thought I would be clever and do everything in my large, 13-inch cast-iron pan, but when I got the bones and meat in it:
I quickly saw that the veggies wouldn't fit when the time came to put them in. no worries, I would cross that bridge when I reached it.
I put the pan into the oven for an hour; during this time, the house took on an incredible, beefy aroma, and I figured out a solution to my dilemma about lack of space in the cast-iron pan. When the hour was up, I transferred the meaty bones to my other large (12-inch) cast-iron pan:
This pan was returned to the oven, reducing the temperature down to 350 degrees, leaving the fat (that had rendered so far), steak pieces and brown bits in the original pan. I then quartered two onions and cut three carrots and three stalks of celery into chunks, reserving the celery leaves for the boiling. I also ripped half a dozen cloves of garlic off a bulb, leaving them un-peeled. I added the carrots, onions, celery and garlic to the original pan, tossing them in the oil and brown bits and mingling them with the steak pieces:
I then placed this pan in the oven alongside the meaty bones.
To sum it up, I had one pan of half-roasted meaty bones and another full of aromatics, half-roasted steak pieces and brown bits (fond) in the oven at 350 degrees. Looking back, I probably could have just used a single roasting pan for the whole thing, but I figured that the properties of the cast iron would work well for this project; in the end, I do believe that this was a good decision.
I roasted everything for an hour (this makes 2 hours for the bones), and then took a look:
There are a lot of adjectives to describe that scene, and all of them are synonyms of the word "wonderful," especially considering the aroma that was filling the entire house.
I roasted the vegetables and bones for a good while longer, right around another hour; this makes about two hours total for the veggies, three for the bones. Keep in mind I reduced the temperature after the bones had roasted for an hour, so your time may vary; What you're looking for is some good, deep browing of the ingredients. At the times and temperatures I used, the bones:
As well as the beef scraps and veggies:
Had all taken on a wonderful, rich browned colour; I believe this is a textbook example of the Maillard reaction, which is evidently the heart of the concept behind this "meat glaze."
I removed the bones, meat, vegetables and scrapings to a large bowl:
And then poured the juices and fats from both pans into another, smaller bowl:
I then de-glazed both of the oven-hot pans with a little water (deciding not to use any wine) and added the resulting liquids to the bowl with the juices and fats. As advertised by Dave in his post, the liquids were a beautiful, hearty espresso-brown.
A lot of rendered fat from the bones rose to the top:
But no worries – time and a little magic would take care of that!
I left both bowls out so the meat, bones and vegetables could cool down naturally for about an hour; then, since the hour was quite late, I covered both bowls, placed them in the refrigerator and then turned in for the evening.
The next morning, I got off to a slightly-late start, about 9:00 AM, but no worries. First, I brought out the large stock pot and put all the solids in it. I then took a look at the "liquids" bowl:
The fat had all risen to the surface and solidified in the refrigerator, creating a pretty thick cap over the liquids:
However, being solidified, it was an easy matter to run a knife around it and lift it off with a fork:
I then poured the liquids onto the meat, vegetables and bones in the stock pot:
And then covered everything with a little over 6 quarts of cold water so that the entire project could heat in a uniform matter.
For this preparation, I ultimately chose to add no additional ingredients, except the garlic cloves mentioned before. I had been considering halved, roasted tomatoes, but the ones I was going to use ended up in our supper the night before, so that idea was out. I suppose I could have thrown in a small amount of tomato paste, but decided against it. I also considered adding a teaspoon or two of salt and a few peppercorns, but then took the final reduction into account and decided against that, as well. As Dave said, the beef and veggies will provide the only real seasoning that this wonderful stuff needs on a fundamental level; the rest is just embellishment. I did ultimately decide to chop up the celery leaves:
And add them to the stock pot simmering for flavour, but that might have been a questionable decision; I'll show you the results and you can decide.
With that, I began a very long, slow, just-barely-bubbling simmer - uncovered - which was slated to last at least 12 hours. During this time, you want to be skimming the liquid as often as possible with a slotted spoon; it's important to get all foam, scum and other detritus out of the stock pot, so that you are left with a wonderful, pure stock. You want to also keep the liquid level above the bones, adding some hot or boiling water as-needed. It wasn't long before I started to question my decision regarding the celery leaves:
Since they commenced to float around the top of the stock pot, running the risk of getting skimmed out; nevertheless, they did impart some wonderful, savory flavour into the final product, and I would definitely do it again.
From here, this process should have been pretty straightforward: simmer, skim, strain and reduce. While I was simmering the stock, I skimmed any fat, scum or foam that rose to the surface, but there wasn't very much at all, and the stock remained very clear, just like good, rich, dark coffee. Every now and then, I added a pint or so of boiling water, to keep the level well above the soup bones, and things were bubbling along quite merrily. (continued below)


Comment